
Thanksgiving is a time for us to bond with family while noshing on treats you’ve been looking forward to all year. While I don’t entertain much throughout the year, Thanksgiving is the one time that everyone comes over my home. I like to make it special by sprucing the place up with decor that is perfect for the occasion, and my table is no exception.
I’ve created a DIY Thanksgiving Centerpiece that is inspired by pumpkins. Each year, my daughter and I go pumpkin picking at Eckert’s Farm, and we like to paint them, carve them, and show them off on the stoop and around the house. Why not use this seasonal fruit to bring some pop to your table while creating a conversation piece?
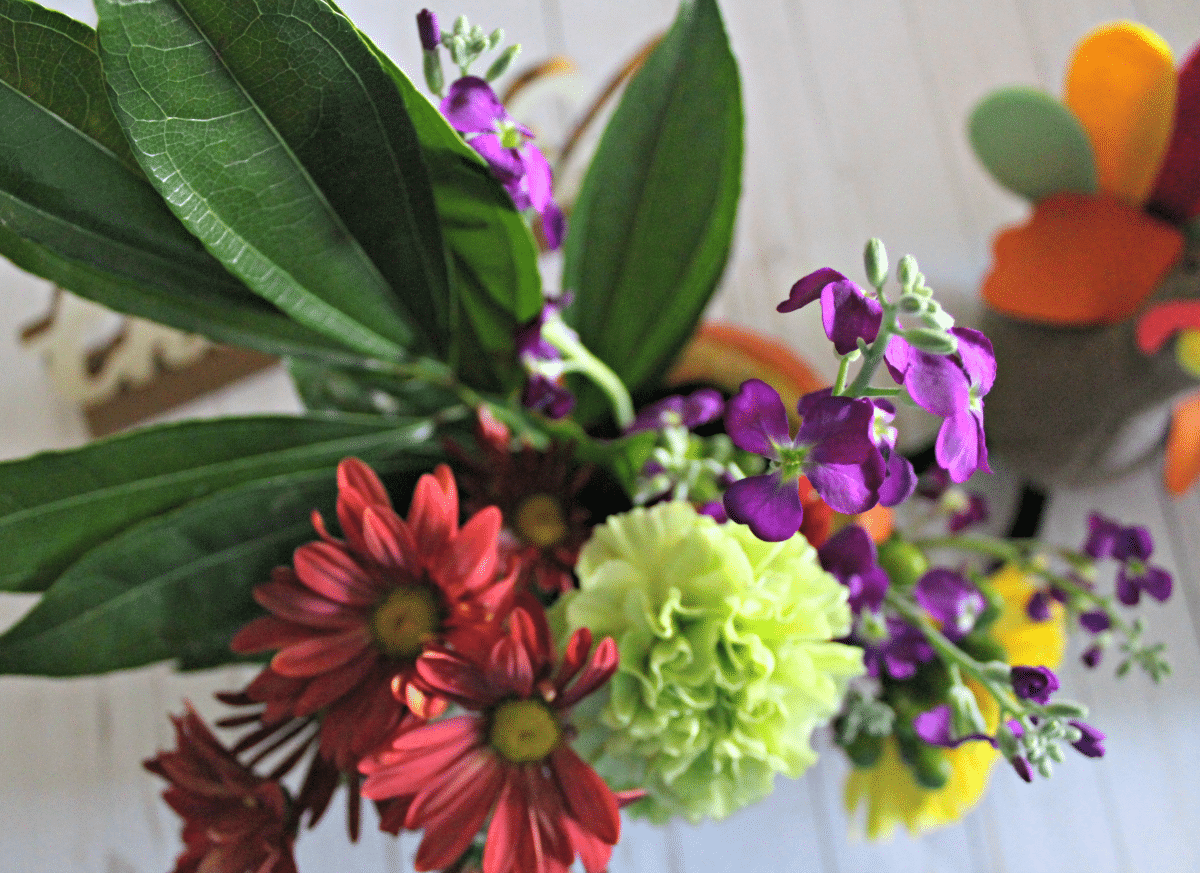
Here’s what you’ll need to create your own DIY Thanksgiving Centerpiece:
- Medium to large size pumpkin(s)
- Potting soil
- Fresh fall plants and flowers
- Paint (optional)
- Ribbon (optional)
Step 1 | Cut the top off the pumpkin
Use a sharp knife to cut off the top of the pumpkin so you have access to the inside.
Step 2 | Dig out the innards
Scoop out the inside of the pumpkin and get it as hollow as you can.
Step 3 | Add potting soil
Fill the pumpkin halfway with potting soil.
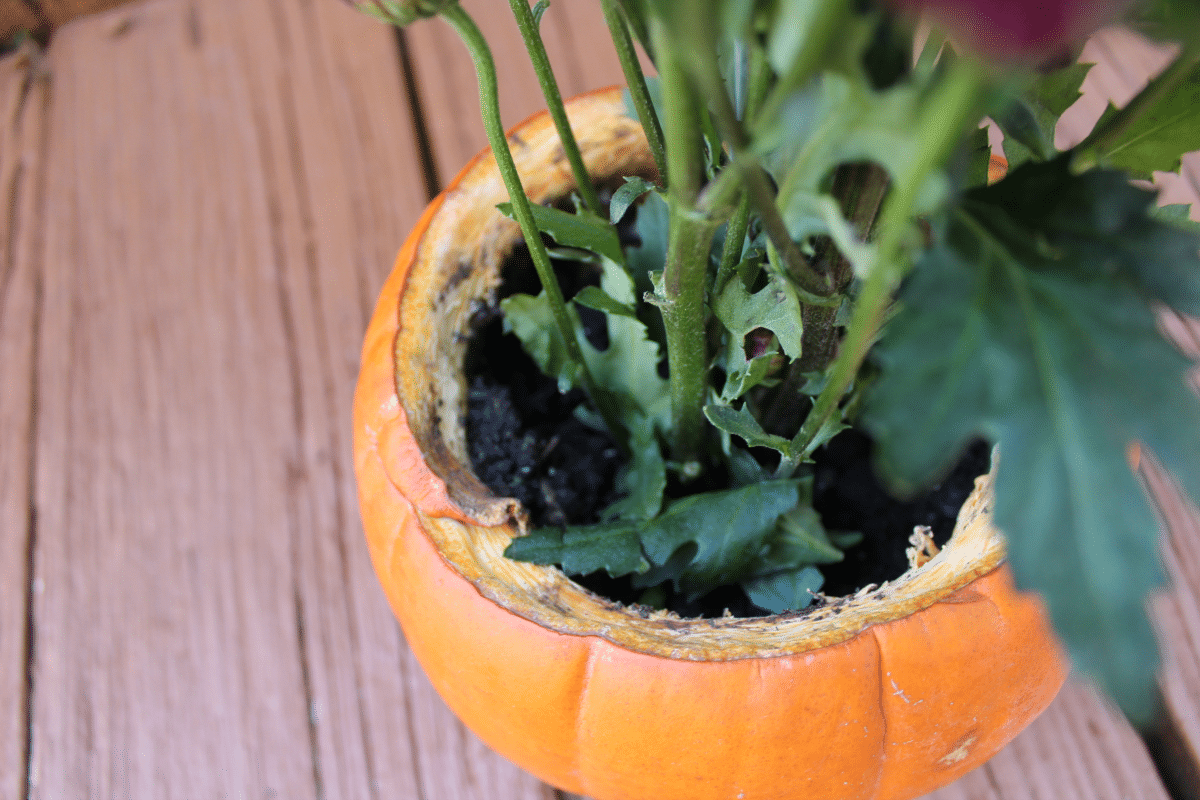
Step 4 | Add flowers and plants
Create a fab floral arrangement by adding fall themed flowers and plants.
Step 5 | Add more potting soil
Pack your floral arrangement with more potting soil.
Step 6 | Add more flair

You can make your DIY Thanksgiving Centerpiece more pop by adding ribbon and tying it around the pumpkin. You can also paint it, too, but make that your first step.
Place on your table and watch how everyone will be wowed by your creation.
You even can use smaller pumpkins to make a pumpkin flower arrangement that can be used as hostess gifts or favors for Fall soirees.
What do you think of my DIY Thanksgiving Centerpiece?





Your creativity is awesome! I loved the centerpieces. YOur tips are very easy to understand. I am gonna apply your tricks in my house. Wish me best of luck!
Very interesting article!