Disclosure: The following is a compensated post on behalf of See’s Candies via Mom Trends. The opinions expressed belong to me and are not indicative of the brands mentioned.
Make a lasting Easter tradition with my See’s Candies DIY Sweet Bar
The Easter holiday is slowly but surely creeping up on us, and if you are planning to do any entertaining or celebrating, you may be on the lookout for some fun and fabulous ways to help you and your brood enjoy the holiday. In this sponsored See’s Candies conversation, I’ve created a wonderful way for both kids and adults to enjoy the festivities. My See’s Candies DIY Sweet Bar is a perfect combination of candy and confectionary, and makes an awesome centerpiece for any party or gathering.
For 95 years, See’s Candies has been in the business of making sweet goodness, so it’s no wonder that they are an Easter staple. With so many candies to choose from, you are certain to find something for everyone—and when entertaining, that is a must! My family and I have been enjoying See’s Candies for years, so when it came to this “assignment”, I was happy to create a special treat that my family will remember for years to come.
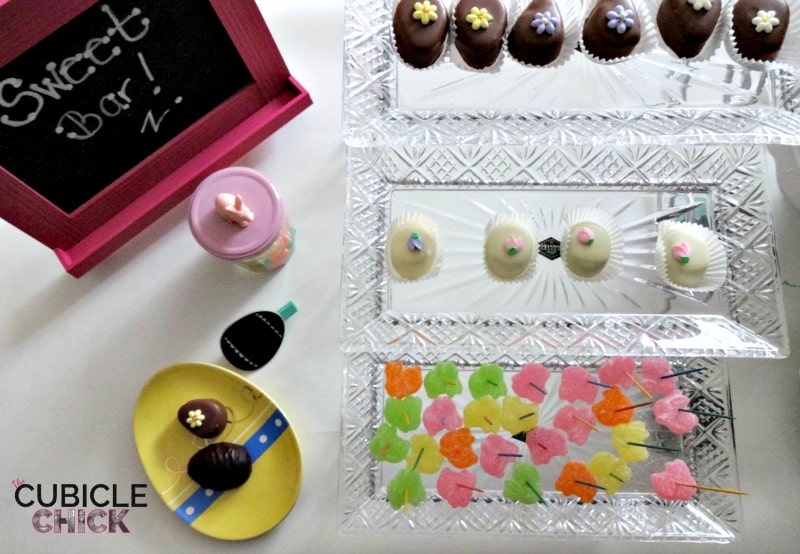
By creating a DIY Sweet Bar, you can sit back and allow everyone to treat themselves to a plethora of dessert options. I especially like having a sweet bar, because it not only makes a statement, but is pretty easy to assemble, and allows the guests to pick and choose what they would like to try.
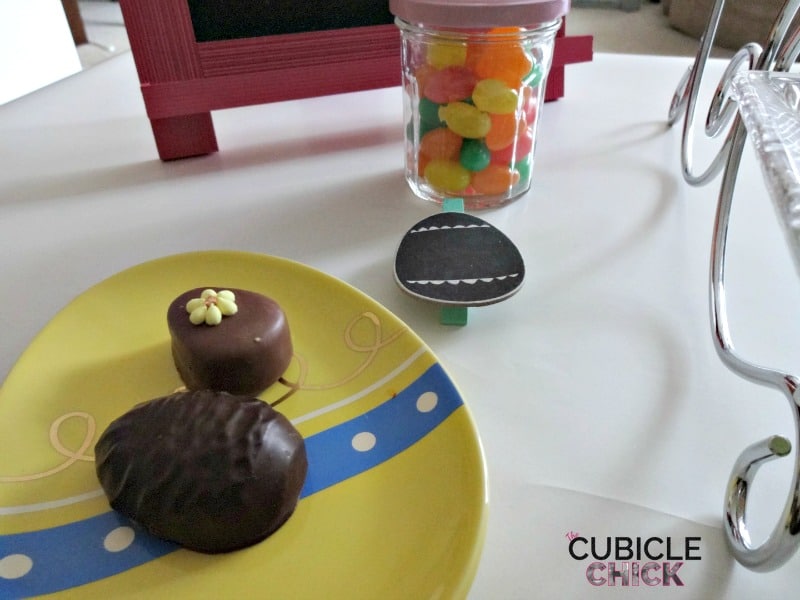
For my DIY Sweet Bar, I used the following See’s Candies selections:
- Rocky Road Egg
- Chocolate Butter Egg with Walnuts
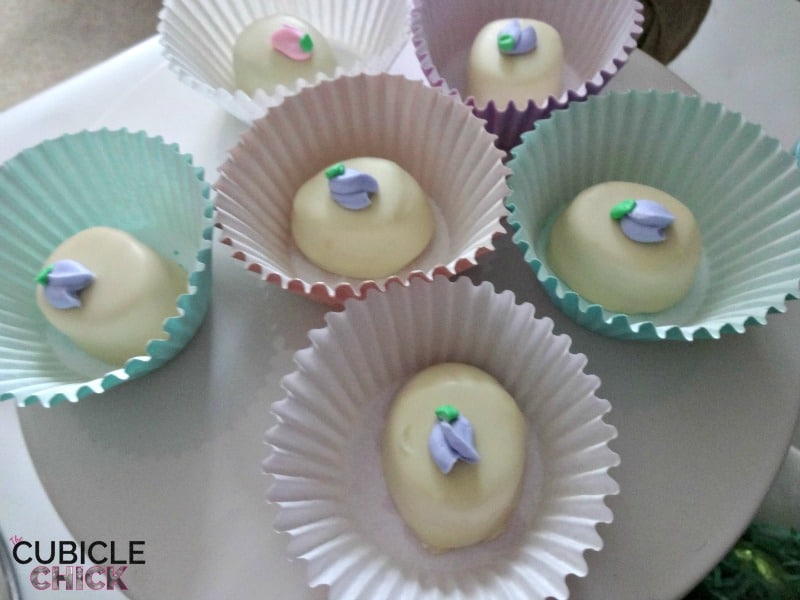
- Springtime Truffles
- Jelly Beans
- Sour Bunnies
- Assorted Eggs
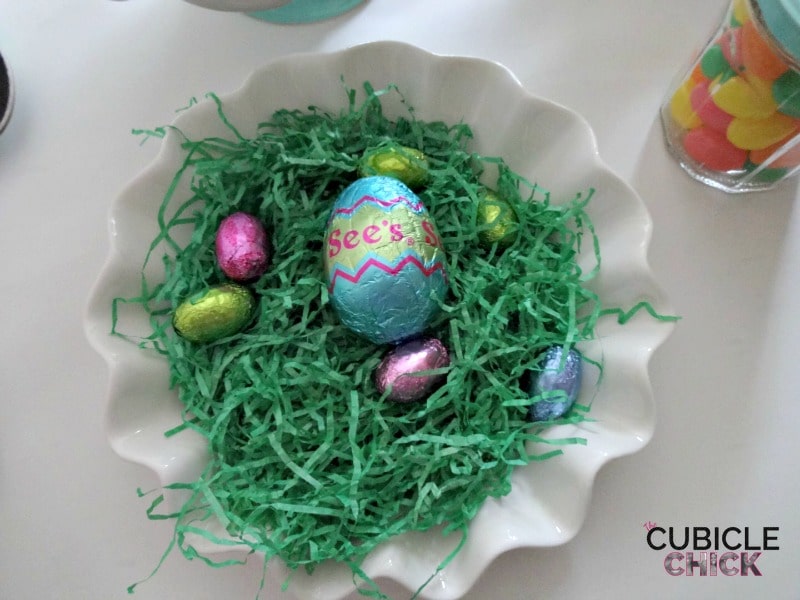
- Easter Treasure Egg
Of course, you can use whatever candies you and your family most enjoy. Since these items are Easter themed, I feel they work best for this DIY Sweet Bar holiday edition.
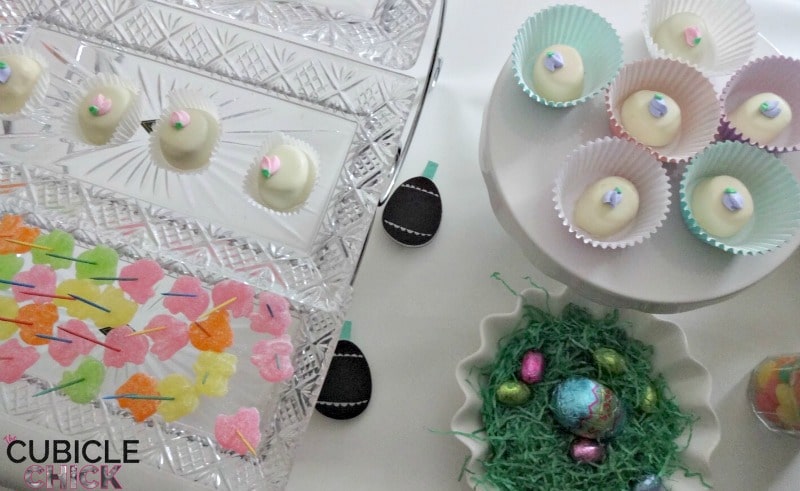
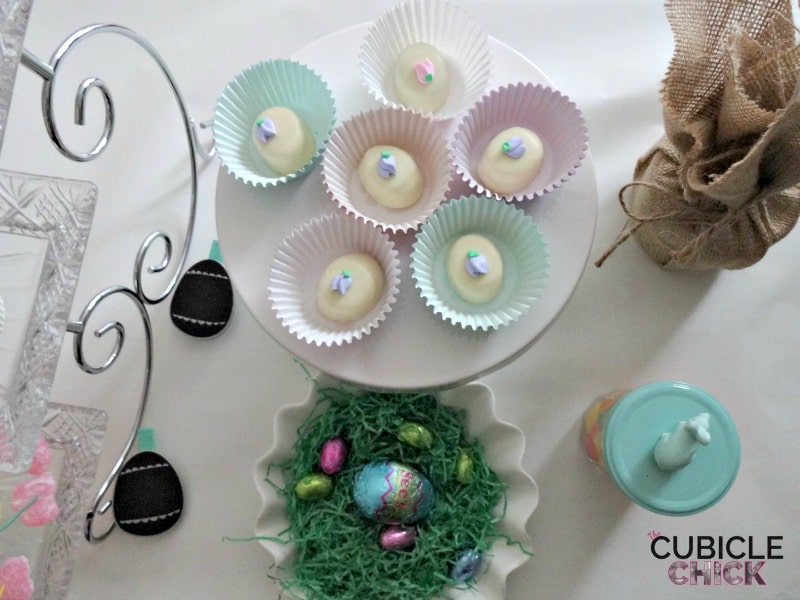
You can pretty much use serving items that you already have in your kitchen or storage. I picked up a few Easter and Spring dishes at my local Dollar Store and at Target’s Dollar Spot, both of which are budget friendly options. Once you have your serving dishes, you just have to arrange them in a fun way that is festive and inviting.
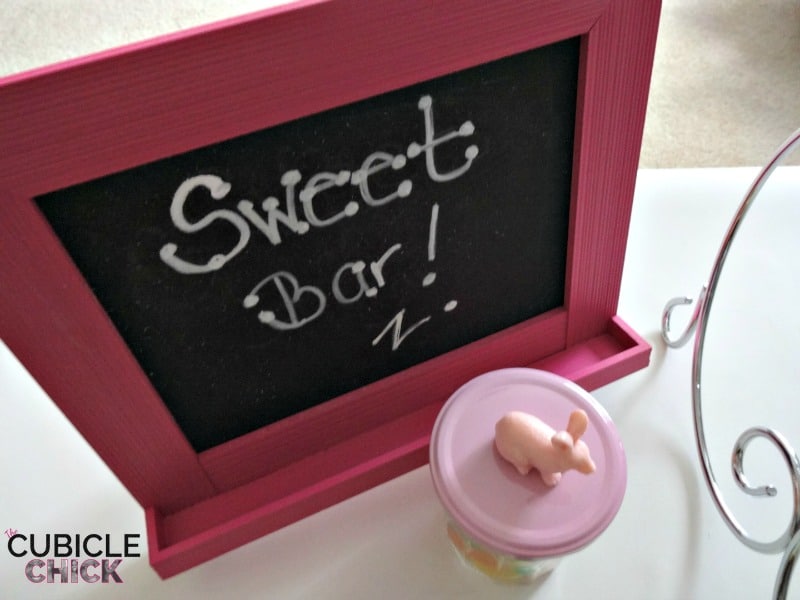
This is a DIY that you can also get the kids to help you with. They can help you arrange the serving dishes, and even put the candy on them. My daughter created the sign we used for the DIY Sweet Bar using a mini chalkboard and a chalkboard pen. She loved to see her handiwork on display.
Once you are finished, you can sit back and watch how much your guests will enjoy it. It helps to use cupcake cups, jars, and scoopers to help the guests help themselves.
I hope that my See’s Candies DIY Sweet Bar inspires you to create one of your own for you and your family. Here’s to a Happy Easter!
About See’s Candies:
Inspired by the original recipes of Mary See and delivering deliciousness since 1921, See’s happily continues to make candy Mary’s way. Using only the freshest and finest ingredients, its quality you can taste in every piece.
See’s makes over 100 varieties of chocolates and treats in their own candy kitchens and is one of the few remaining candy makers that still ages their chocolate. This process imparts a smoother, mellower flavor and elevates the overall chocolate taste experience. See’s also continues to hand-pack their boxed assortments, artfully hand-decorate special seasonal items, and hand-dip Bonbons and Scotch Kisses. There may be a faster, more automated way of doing things, but See’s likes taking the time to get things done just right.
Step inside a See’s Candies shop, and you’ll see a crisp, clean, black-and-white checkered motif inspired by Mary See’s original kitchen where each day, visitors are welcomed with the friendliest service and a free sample.
With over 200 retail shops across the country and an online shop that serves See’s fans around the world, we continue to uphold our commitment to delivering the highest level of taste, quality, tradition and service.
Mary would be proud!





Leave a Reply