Written By: Katie Femia, DIY & Craft Contributor
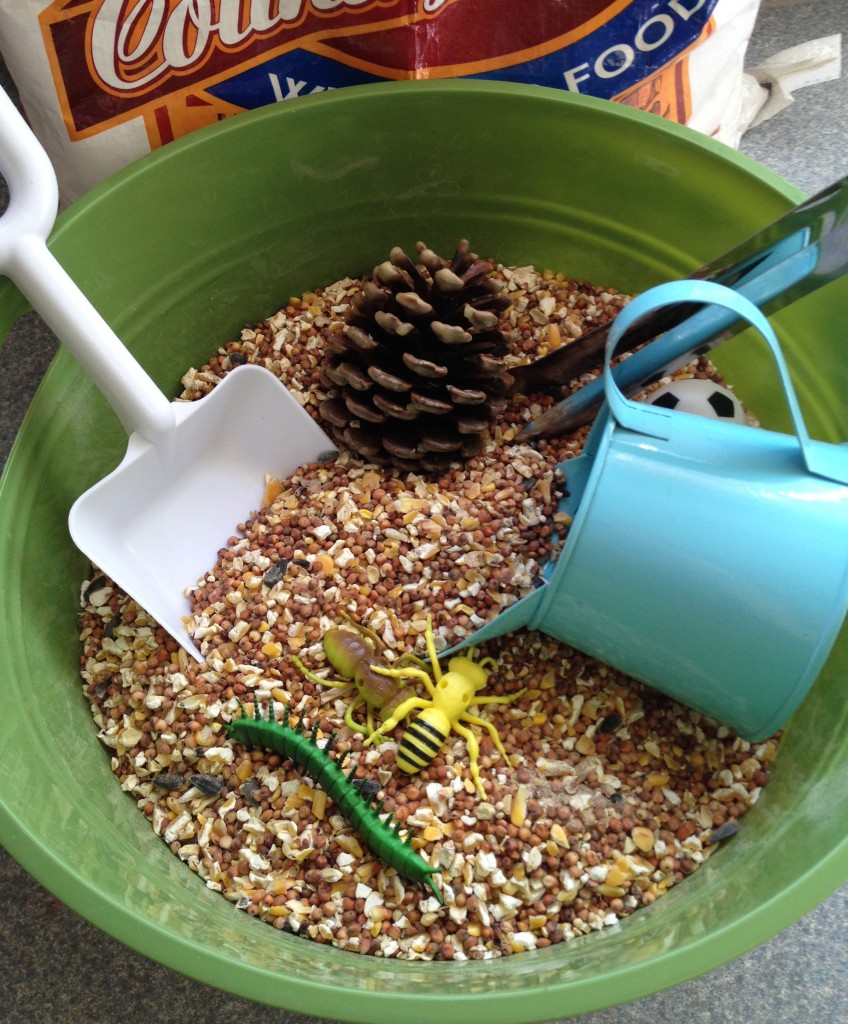
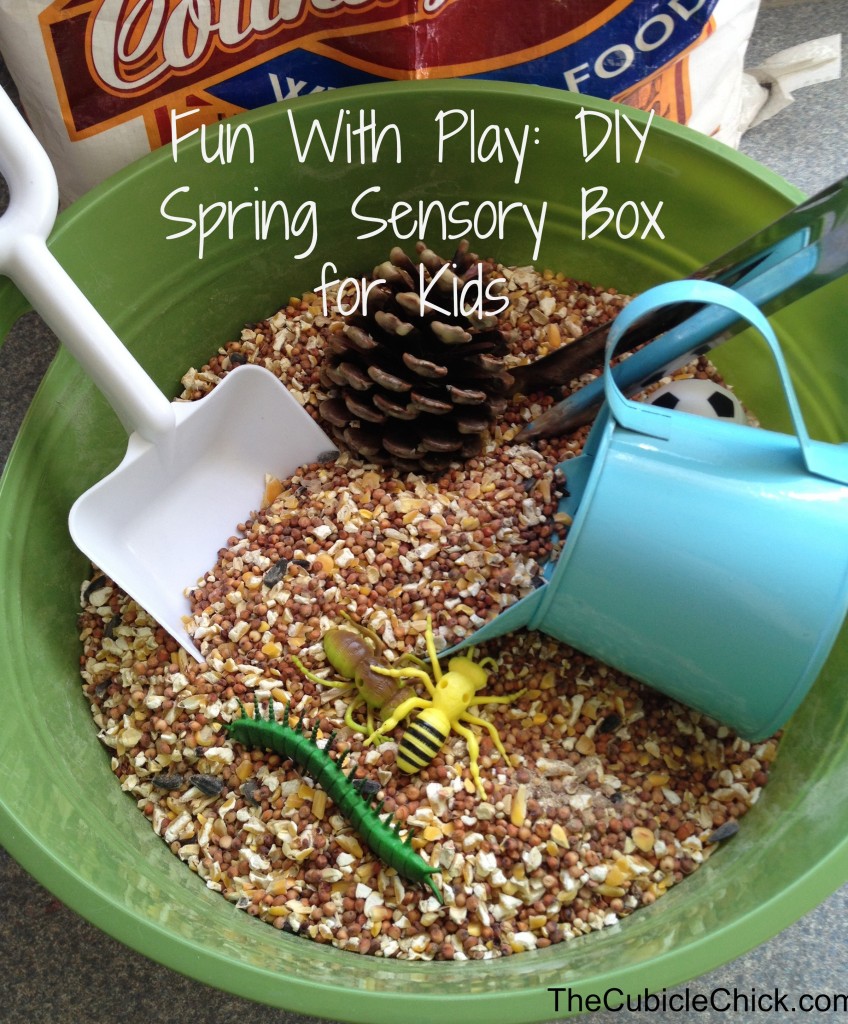 If you have ever been around children, you may have noticed how they love to touch everything! Their hands are the way they explore the world around them, and because of this it is very natural for them to want to touch and explore objects. The only problem is, often times this exploration is met with a firm “NO!” as they try to touch objects that may not be kid friendly! That’s when a sensory box comes in handy!
You can encourage their sensory experience by creating a DIY Spring Sensory Box. Instead of hearing “NO”, children will be able to dive in and feel and explore all of the signs of spring. A sensory box is a safe way for them to explore and get messy, and continue to develop those important fine and gross motor skills, language, and word building skills!
Not only is a DIY Spring Sensory Box fun for kids, but it is frugal for adults to create as well! You don’t need to spend a lot of money or invest a great deal of time to create one. In fact, just about all of the supplies you need can be found at your local dollar store. Here is how to make your very own and get the fun started!
DIY Spring Sensory Box For Kids:
Supplies:
Large plastic tub
A medium bag of birdseed or potting soil
Rubber fishing worms
Plastic bugs and critters
Chenille baby chicks
Plastic eggs
Mini Watering can
Shovel
Spoon
Seed packets
Flower bulbs
Rocks
Twigs
This list looks large, but you will be surprised at how many of these items you already have around your home. If you find yourself needing any of these items, I was able to locate ALL of them at my local dollar store. You can go in on this project with a friend if you would like and divide up the supplies to really make your dollar go far!
Directions:
- Fill your plastic tub with your birdseed or potting soil. You want to fill it about ½ way full since you want room to put all of your sensory items in.
- Bury the plastic bugs and rubber worms deep into the seed or soil.
- Put the chicks in the eggs and close tight. Place them in the box.
- Bury or add the rest of the objects such as the bulb, seeds, etc.
- Give children the tools such as a spoon, small shovel, and watering can to start digging and exploring in the box.
- Encourage them to dive in, get dirty, and explore!
While the concept seems simple, a sensory box is a trusted activity educators have used for years to help children explore and develop early skills. They will love digging in the box, uncovering new objects, burying them again, and feeling all of the materials on their hands. It is a unique hands on experience that really allows them to explore signs of spring.
It is important to talk to them about the experience as they dive in as they might have questions about what they find! Teach some new adjectives and descriptive words while they explore, or make a list to post up later.
To curb the mess, you can do this activity outside or on a tablecloth. That way, clean up is easy. You can add water if you wish for some extra fun, or other tools such as funnels, measuring cups, tongs, etc. All of these encourage fine motor skills in a fun and unique way! When finished, you can save this activity for later to enjoy over and over again. See, it is frugal and fun!
Head to your local dollar store and create your own DIY Spring Sensory Box today! Your kids will love hearing “GO” instead of “NO” and diving in to this unique spring experience! Who knows, it might look so fun that you may wish to join in as well. Go for it!
Happy Spring!


 #birthdaybehavior






This is a great post! My mother is an OT in a local school district and she has many various sensory discovery kits that she uses with her students. These days it seems that good ol playing time and discovering the world is so auditory and visual that the fine and gross motor skills are not being discovered. Thank you for sharing this with your readers as it is so important! Say GO not no!