 Written By: DIY & Craft Contributor, Katie Femia
The arrival of spring brings warmer weather and clearer skies! And hopefully, since our friend the groundhog did not see his shadow, we can count on spring coming even earlier this year! One of the best ways to usher in spring weather is to go and fly a kite. Nothing beats romping through an open field with the breeze on your face and a high flying kite in your hand!
Sound dreamy? It is. And what is even better is being able to make your very own kite. Kite making is a long time tradition that children use to enjoy quite regularly. It is not time consuming, nor does it cost a great deal of money. Kite building is actually quite fun, frugal, and a great way to bond as a family!
Want to make your own kite and enjoy your own family springtime family memories? Take a peek below at how easy it is!
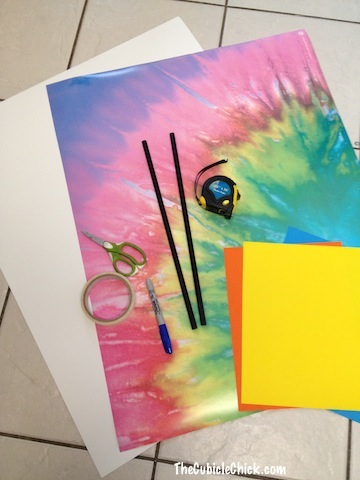
Supplies List:
2 Dowel Rods
Rulers Or Yardstick
Glue
Scissors
Ribbons Or Strips Of Cloth
Utility Knife
Strong String
Stiff Construction Paper
X-Acto Knife
As you can see, some of these items need to be used with caution. This is a project that requires adult supervision since sharp tools are used and safety will need to be taken into consideration.
Directions:
- First, cut two lengths of doweling rod, one 16 inches long and another 24 inches long.
- Measure each cut piece with a ruler. Mark the shorter, 16-inch piece at half its length and mark the longer, 24-inch piece at a third of its length. Exact measurement is not exactly key, but you will want to measure carefully.
- Position the two rods at right angles, one on top of the other so that the marks touch. The two rods should form a cross shape.
- With strong string, bind the two rods together where they meet. Tie a secure knot and cut off any excess string. Use a utility knife to cut a small notch into the ends of both rods. These notches will hold the string that gives the kite its shape.
- Place some string in the notch at the top of the kite frame and wind it around the top of the rod.
- When the string is well-secured at the top of the rod, draw it tightly around the edge of the frame. Make sure it fits securely into each notch in the rods.
- When you return to the top of the frame, secure the string by tying its ends together in a tight knot. Place the finished frame on top of a large piece of paper.
- Using the kite frame as a template, cut the paper with scissors or a utility knife. Leave an excess of about 1/2 inch when cutting around the sections of string.
- Smear glue along the outside edges of the paper and fold it over so that it encloses the string and secures itself to the paper inside the frame as well. Make sure you use enough glue and spread it evenly enough to attach the paper both to the string and itself.
- Tie a length of string to each end of the shorter rod. The string should be a bit longer than the rod. Tie another length of string to each end of the longer rod. Again, the string should be a bit longer than the rod.
- Pick up the two strings with one hand, finding the point at the front of the kite where they overlap. Using a bit of extra string, tie them together. This is the point at which you will attach the kite string when it comes time to fly.
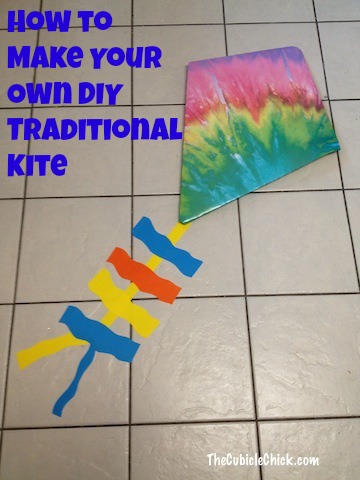
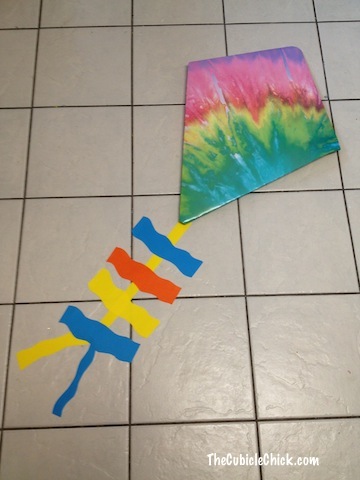
- To make a tail for your kite, secure several ribbons to the bottom of the kite using strong glue.
Avoid power lines when flying kites. It can be very dangerous and pose an electrocution risk.
When flying kites as a group, stay several yards away from each other so kites do not become entangled.
Kites such as these may not be able to endure high winds. Use with caution so they last.
Your finished kites can be decorated any way you choose! Bright colors or designs will look fun in the sky, that is for sure! Or, you may choose to go more traditional. Either way, this is a fun, family craft that is easy to do and can result in hours of high flying fun.
So what are you waiting for? Go fly a kite!


Thank you for thorough approach, Danyelle! I am a little bit worried about kite strings. Is it safe for children? I have heard that strong strings may scratch hands – are they really so dangerous? What do you recommend for extra protection?
wow, that’s great my son asking that how can i build a kite and this the right time. I already shared the link with him and help him to build. Thanks for sharing this easy craft.