Written By: DIY & Craft Contributor, Katie Femia
 Nothing adds instant holiday charm to your home like a fun and festive door wreath. The perfect wreath does so much more than just fill space. It welcomes your guests, putting them in the holiday spirit the minute they walk through your door!
Perhaps you are tired of the traditional pine bough wreaths. Or maybe spending big bucks on a wreath just isn’t in your holiday budget. Whatever the reason may be, why not think outside of the box this year when it comes to dressing up your holiday door? And guess what? You don’t need to drop a lot of cash to do so!
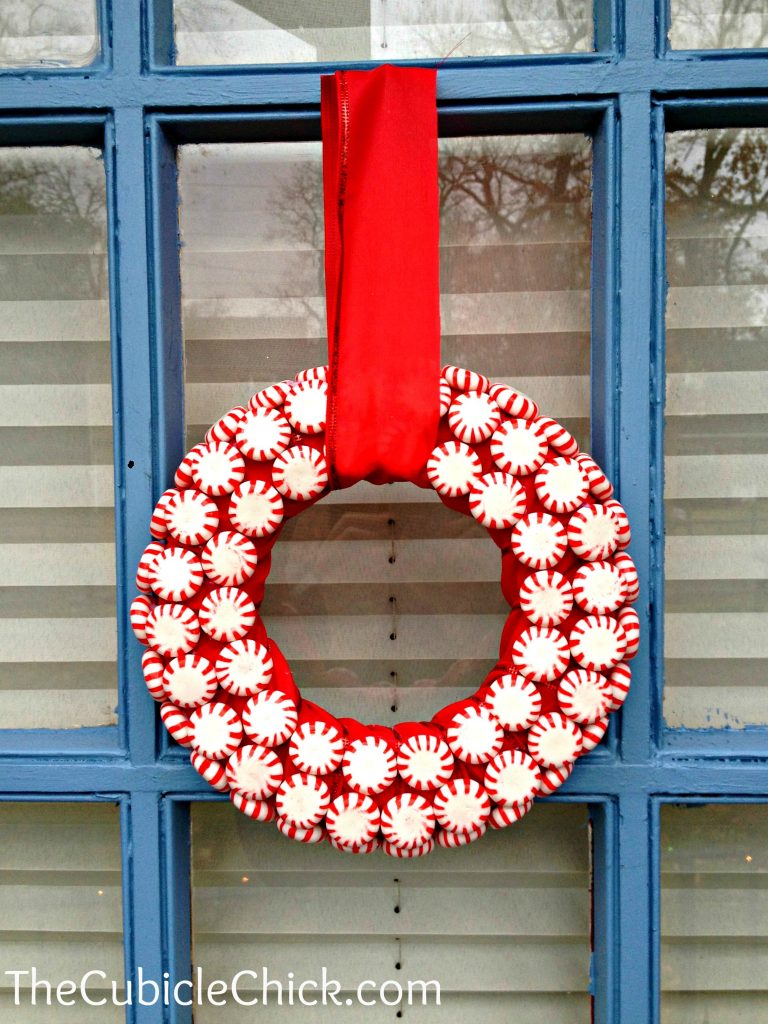
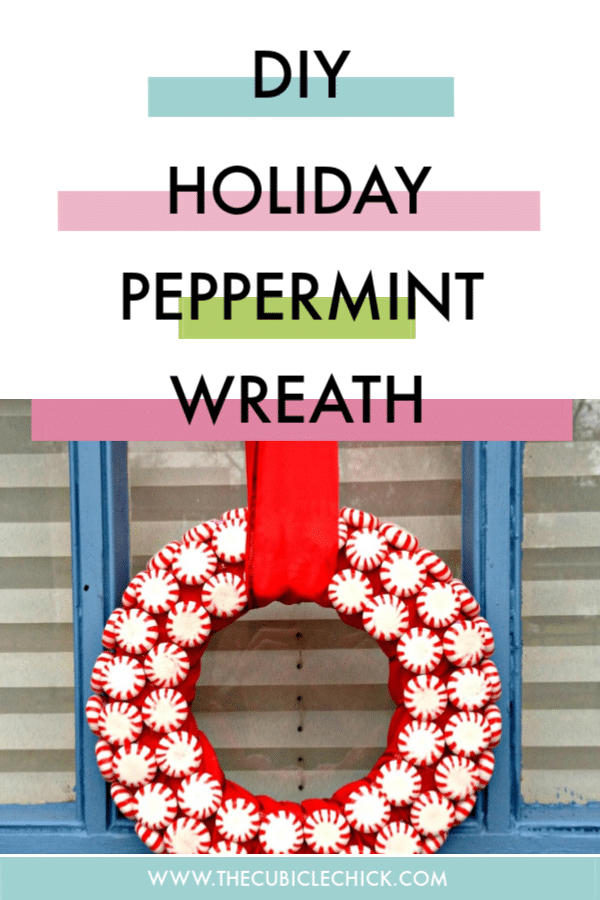
A peppermint wreath is the perfect solution for someone wanting a minty fresh spin (pun intended!) on the traditional holiday wreath. Not only is a peppermint wreath whimsical and unique, but you can whip one up on a dime. Here’s how!
Supply List:
One foam wreath form. (Dollar Tree has smaller 6 inch forms, or you can find 12-18 forms at your local Hobby Lobby or Michaels for $4.99. Don’t forget to print off your 40% coupon before you go, dropping you price to around $3.00)
Hot glue sticks. (Found at local craft stores for around $3.00)
Hot glue gun. (My local dollar store carries these although I am not familiar with their quality. Most crafts stores carry these for around $5.)
Thick red ribbon. (Two inches in width is perfect! This is less than $2.00 a role at most craft stores.)
2-3 bags of hard candy peppermints, unwrapped. (Dollar Tree carries rather generous sized bags for $1.00!)
Ready? Let’s go:
- First, you will want to wrap your ribbon around your foam wreath form. Use a small drop of hot glue to secure the end of your ribbon in place first, then start wrapping. Make sure you wrap it somewhat firmly.
- Once your wreath is covered, cut your ribbon and secure the loose end with another drop of hot glue. Allow it to set for a few minutes to dry before moving on.
- Next, gather up all of your peppermints. They should be unwrapped (have the kiddos do that part for you!) and kept close by because as soon as you start applying glue you will want to have one ready.
- Starting on the inside of the wreath, make a generous dab of hot glue and attach the first peppermint. Hold it in place for a few seconds to secure it.
- Continue attaching peppermints using this same method, trying to follow a line. Once you have made a full circle on the inner part of the wreath, begin a new row heading outwards.
- Keep repeating this step until your wreath is covered. Don’t worry if there are small gaps, That is why you have layered your wreath with red ribbon first.
- Once your wreath is covered, allow it to sit for a few hours to make sure it is fully dry. Reapply any pieces of the candy that might not have stuck.
- Using your leftover ribbon, wrap a generous sized piece around the top and fashion a bow. That’s it! You can now hang it from a wreath hanger, Command hook, or even a nail!
- Finally, stand back and admire your beautiful new wreath!

Tips and Tricks:
Choose a rounded edge wreath form and not a flat edge form. The rounded does not look like it would be easier to cover, but it is! Your wreath should not be hung directly outdoors or it may not withstand the elements. Instead, hang it on a door that has a screen or storm door protecting it. If you wish, spray your wreath with a coat of spray on craft sealant to keep it water proof, fade proof, and overall more durable. And as always, use caution when operating a glue gun. Those stinkers can get very, very hot! A bowl of ice water kept nearby is perfect for the quick relief of drip burns.
Further this activity:
Not ready for the crafting to be over yet? Why not embellish your wreath further with a spritz of glitter spray? Or, use a variation of red and green peppermint candies!
So gather up your supplies, put on a fun apron, and start crafting! When you are done you will have a beautiful holiday wreath you can be proud of. Just be warned…your friends will be asking you to make them one too!
Photo credit: Katie Femia


 #birthdaybehavior


 #valentinesday


Leave a Reply