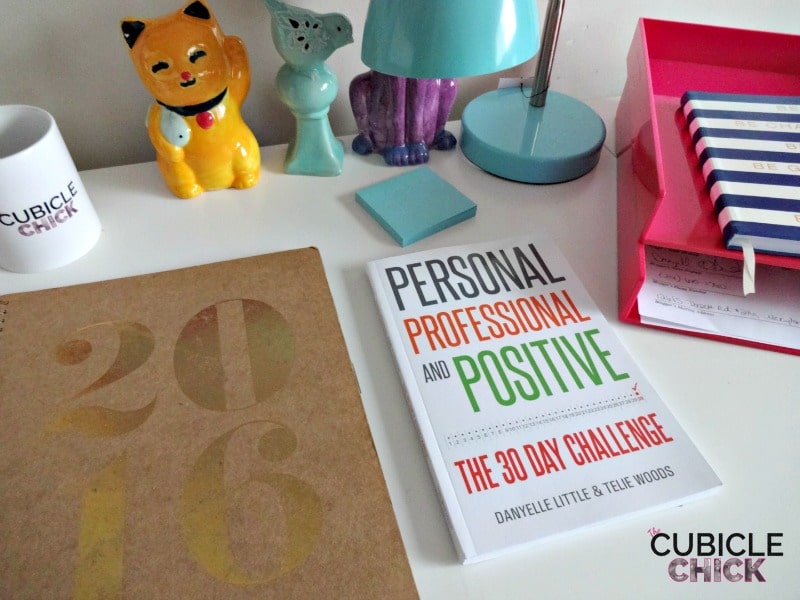
Since I was a little girl, I dreamed of being an author. Writing a book had always been on my Professional Bucket List, and in 2015, that goal became accomplished. I co-authored Personal, Professional, and Positive: The 30-Day Challenge alongside my bestie, and we both felt like we had conquered a huge achievement. Yes, writing articles for other sites, blogging on my own imprint, and authoring a few eBooks counted as foundations to share my writing talent. But having my own book that could be bought in stores and sold on Amazon and other online retailers was a feat in which I am still basking in two years later.
Writing our book was a long time coming, and a project that took almost a year to complete. The idea came to us to co-write a book because we always wanted to partner on something and we wanted a way to be able to showcase our web properties. We took that idea and decided to turn both of our blogs into a book. His site, Think Positive, is all about positive living and emotional development, and my blog is a working parent and career guide.
Taking both of these brands and merging them into a viable book to help people get the most out of their personal and professional lives in a positive way was an a-ha moment. And now in this post, I am going to share with you just how we did it and how you too can turn your blog into a book.
Theme
It may be easier to write a book since you are already a blogger and have material to derive from. You have to decide what the theme of your book will be and how you can make it palatable in book form. I would select something that is easy for you to write about, so finishing the book won’t be so much of a chore.
For instance, if you have a lifestyle blog focused on DIY and crafting, you can take a segment of your DIYs from the blog to create the book.
Your theme could be something that is derived from your DIY arsenal. Niche it down to let’s say, holidays. Then take all of the DIY’s you’ve done on your blog that are holiday and inspired and create a few that are brand new. Now you have a theme (and material) for your book!
Write
I suggest writing the book on Word or other word processing program. You can also use an application like Scrivener, which is created for authors and writers. When we wrote our book, we used Word and then merged them together in one document.
Don’t overthink this process. You’ve already developed a writing style, one that your readers and followers enjoy, so continue that formula as they will be your customers.
Work on your book daily. Yes, even on the weekends. This book must be a priority in order for it to be a success, so make sure you are doing something for your book daily. This includes researching, writing, working on layout/copy, etc.
Photos
If your book is non-fiction like the Holiday DIY Craft book example from above, photos will need to be used in the book as recreations of the DIY. If you feel comfortable taking your own pictures and have a DSLR camera alongside good lighting and backgrounds, then do it. But, if you don’t, it would be wise to hire one.
Edit
Once your manuscript is written, then it must be edited professionally. We hired a professional who went through our book several times and came back with corrections. There were about three revisions before we ended with the final product.
Formatting
Now it is time for you to get your book typeset or formatted. I also suggest that you hire a professional for this as well. They will be able to give you a visually stunning book that is aesthetically pleasing. Keep in mind that most books do better when they are available in both print and eBook form. When getting your book formatted, do so for both genres and keep in mind iBook, Kindle, and Nook versions. You can hire someone to do this for you, or if you are self publishing, services like Amazon’s CreateSpace can do it for you.
Cover Design
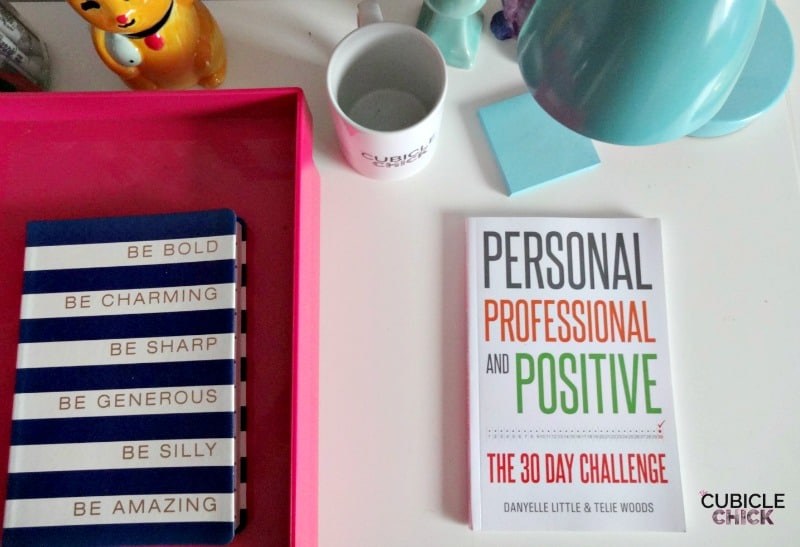
Now it’s time to get your cover design. It should be a representative of the subject matter of the book and your personal brand. You can opt to put a photo of yourself on the cover, or have one designed with artwork or photography. This is also something that CreateSpace can do for you, and they have bundles of services that help you get it all done.
Price Point
Set a price point for your book and keep in mind shipping costs. If you are self publishing, I recommend going through a POD (print on demand) service so that you do not have to house all of the books as well as ship them. CreateSpace does this as well and prints out copies of our book each time it’s sold on Amazon. They keep a small percentage of the book fee, which we’ve worked into the total cost of the book.
We are currently selling our book for $5.97 eBook and $12.97 for paperback. Both are delivered via Amazon and CreateSpace.
Marketing
Once your book is done, it is time to market. Since you already have a blog with a following, it’s best to first market to your readership. You can also utilize your social media channels and various communities to get the word out. Sending free copies of your book to tastemakers and other bloggers with large followings can also help get the word out about your book and make it a success.
If you currently have a blog that is niche based or has content with a focus on a particular area, you can turn this content into a book. I hope these tips help you realize your potential, and I hope to see your finished product in my feeds.
Why should you write a book if you are a blogger? There are tons of reasons but here’s the main ingredient: it creates an additional income stream while giving you authority as a published author, and allows your work to be seen by those who don’t read your blog or follow you on social.




Leave a Reply